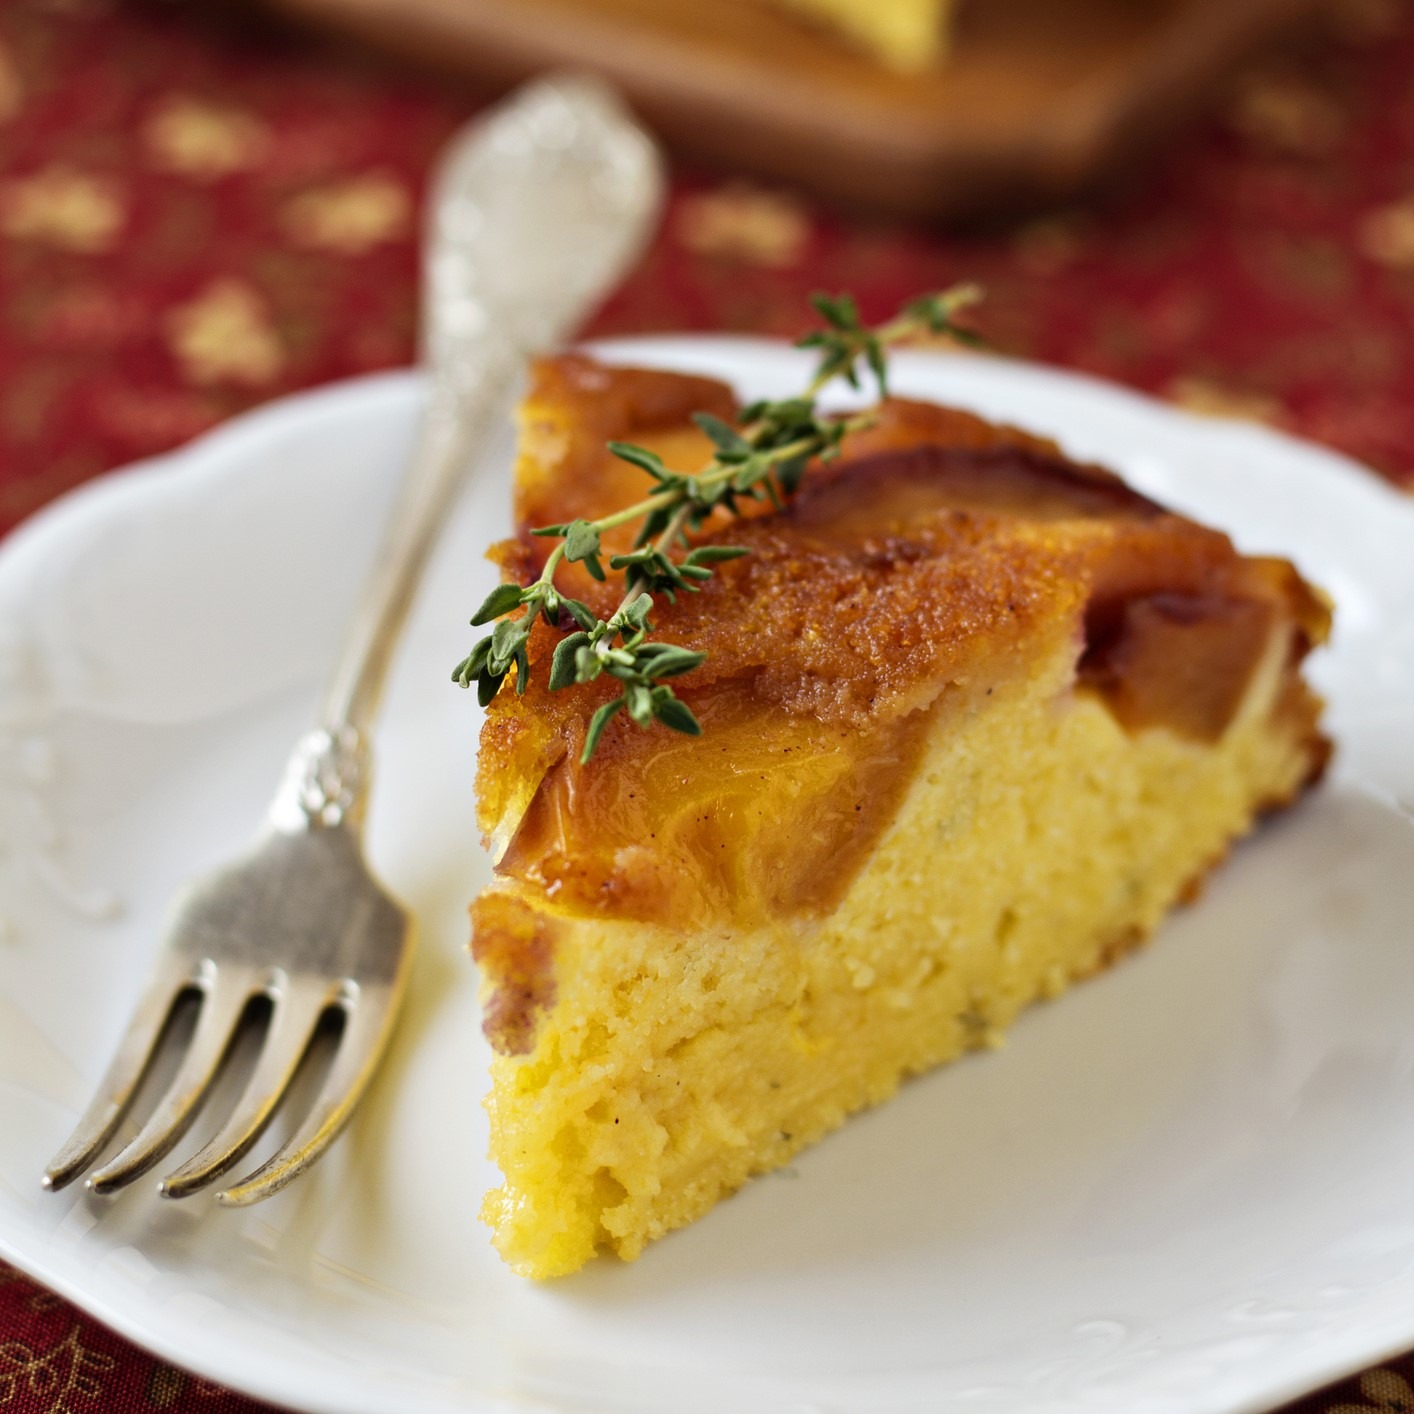
The bright flavor of cornmeal goes great with summer’s bounty of fresh peaches, nectarines, apricots, plums and cherries. And remember, raspberries and blackberries are stone fruits too!
Add in some orange zest for a gentle, warming zing.
Ingredients
1 ½ sticks unsalted butter (12 Tbsp)
1/3 cup light brown sugar
1 tsp ground cinnamon
1/4 tsp cardamom
1 tsp salt
3 cups fresh stone fruits, pitted and sliced ½ inch
1 cup finely ground yellow cornmeal
¾ cup all-purpose flour
1 tsp baking powder
¾ cup granulated sugar
3 large eggs, room temperature
½ cup whole milk, room temperature
Directions
Preheat oven to 350°.
Melt 3 Tbsp butter in a 10-inch cast-iron skillet over medium heat. Stir in brown sugar, cinnamon, cardamom and ½ tsp salt. Cook/stir until the sugar is melted and bubbling, about 10 minutes. Remove skillet from heat, let cool slightly.
Arrange fruit in a circular pattern in bottom of skillet. Set aside.
Combine cornmeal, flour, baking powder and ½ tsp salt in a small bowl.
Using a stand mixer with paddle attachment – or a hand mixer – beat remaining butter and sugar together on high speed until light and fluffy. Add eggs, one by one, beating after each addition.
On low speed, add half the dry ingredients, half the milk, the remaining dry ingredients, then remaining milk. Increase speed to medium, beat just until well mixed, scraping down bowl once. Make sure no dry ingredients are stuck at the bottom of the bowl.
Drop big dollops of batter over fruit, then smooth it out with a spatula without disturbing fruit.
Bake 40-45 minutes, until top is golden brown, puffed and cake tester inserted in the center comes out clean. Cool 20 minutes. With cake still warm, run butter knife around edges, then invert onto a serving platter. Serve warm.
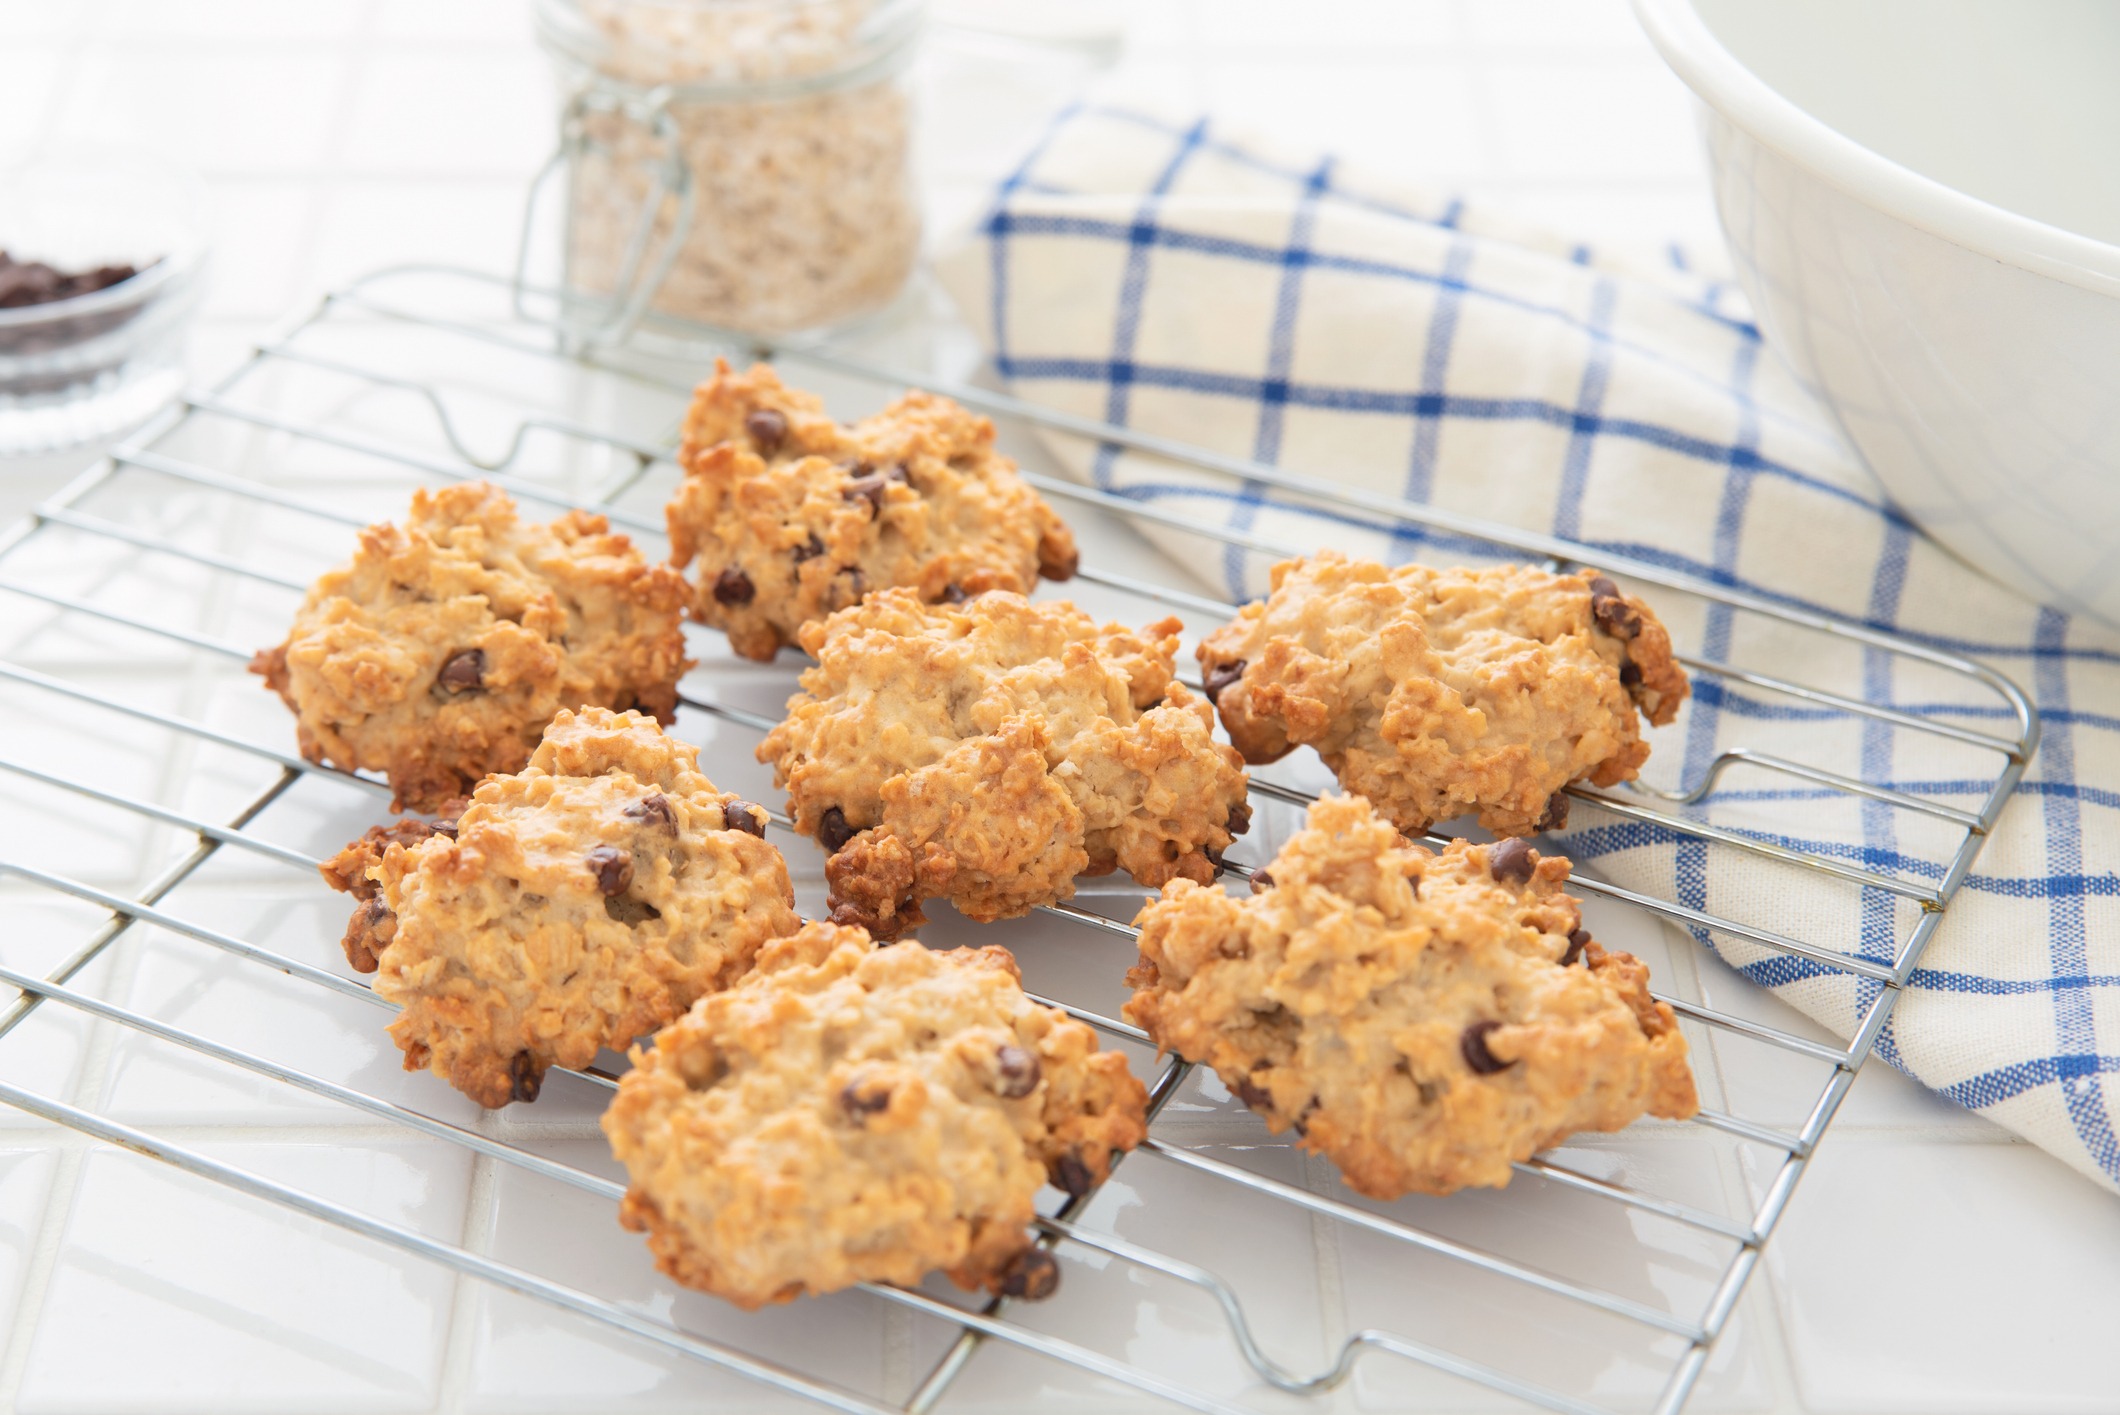
Cookies for breakfast? When they’re cookies like this, why not!
These are perfect for anytime you need a quick grab-and-go snack.
Ingredients
2 cups whole wheat flour
1 cup rolled oats
½ tsp baking powder
½ tsp baking soda
½ tsp cinnamon
1 large egg
1/3 coconut oil, melted
3 Tbsp honey
1 Tbsp orange juice
1 tsp vanilla extract
1 cup grated carrot
1 cup grated apple
1 medium banana
1/3 cup chocolate chips, optional
Directions
Preheat oven to 350°. Line a cookie sheet with parchment or silicone mat.
In a large bowl, mix dry ingredients (flour, oats, baking powder/soda, cinnamon).
In a small bowl, beat the egg. Add vanilla extract, honey, orange juice and melted coconut oil and stir together. Add this mixture to the large bowl with dry ingredients and mix well to combine.
Add grated carrot, grated apple and mashed banana. Stir again until everything is well mixed. Add in chocolate chips, if using.
Roll dough into 1″ balls, you should get about 20. Place each on cookie sheet and press down lightly with a fork.
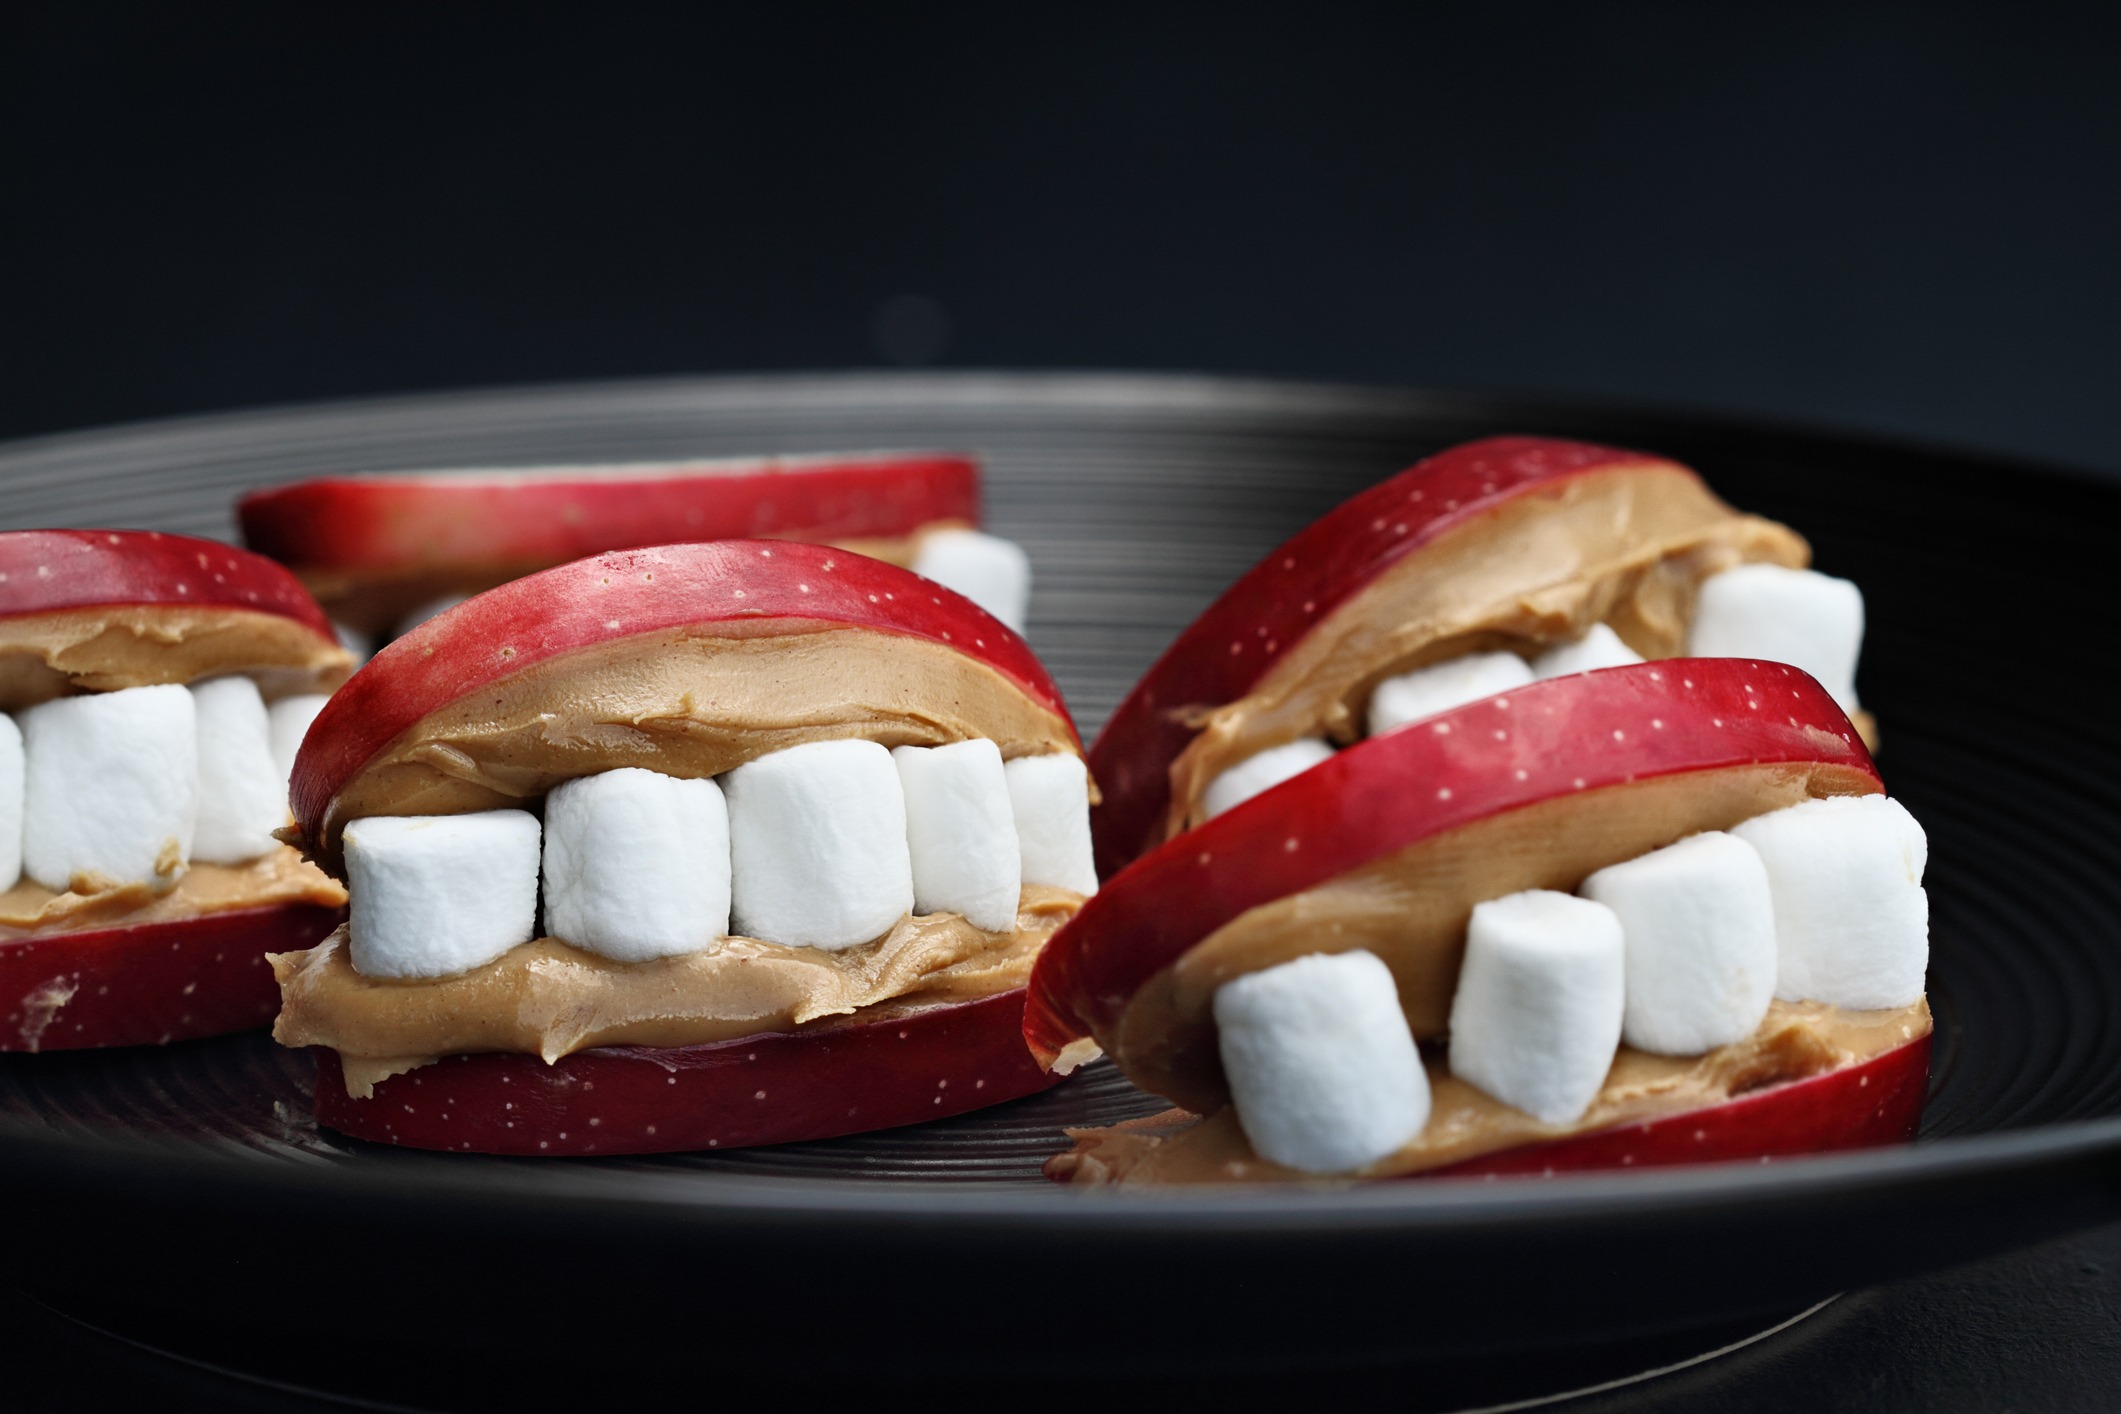
Tasty, fun and easy to make…and a great gift for your dentist when you have your next appointment!
Ingredients
1 apple, your favorite kind
Jar of peanut, almond or other yummy nut/seed butter
Mini marshmallows, raisins and other things for “funny teeth”
Small mint or parsley sprigs (got something green in your teeth!)
Directions
Core apple, using a corer. If you don’t have one, cut apple in half lengthwise, scoop/cut out seeds in center and remove other stem/etc bits with tiny cuts to keep the halves as whole as possible. Making all cuts lengthwise, cut each half into quarters, then each quarter in half and then those pieces in half again. 16 total pieces. See *note* below if you’re not going to eat the smiles right away and want to keep apples from browning.
Spread about 1 tsp nut butter onto each apple slice. Put one row of mini marshmallows and other “teeth” across one apple slice. If you’re putting any herb springs in there, this is the time! Sandwich another slice together with that one, pressing firmly until they stick. Take some fun selfies with your new choppers and then eat ’em up!
Note: ** Making these ahead of time? Keep apple slices from browning by soaking for 10 minutes in a combo of 1 tsp salt in 2 cups water. Rinse and pat dry, and then store your smiles in airtight packaging until ready to serve.
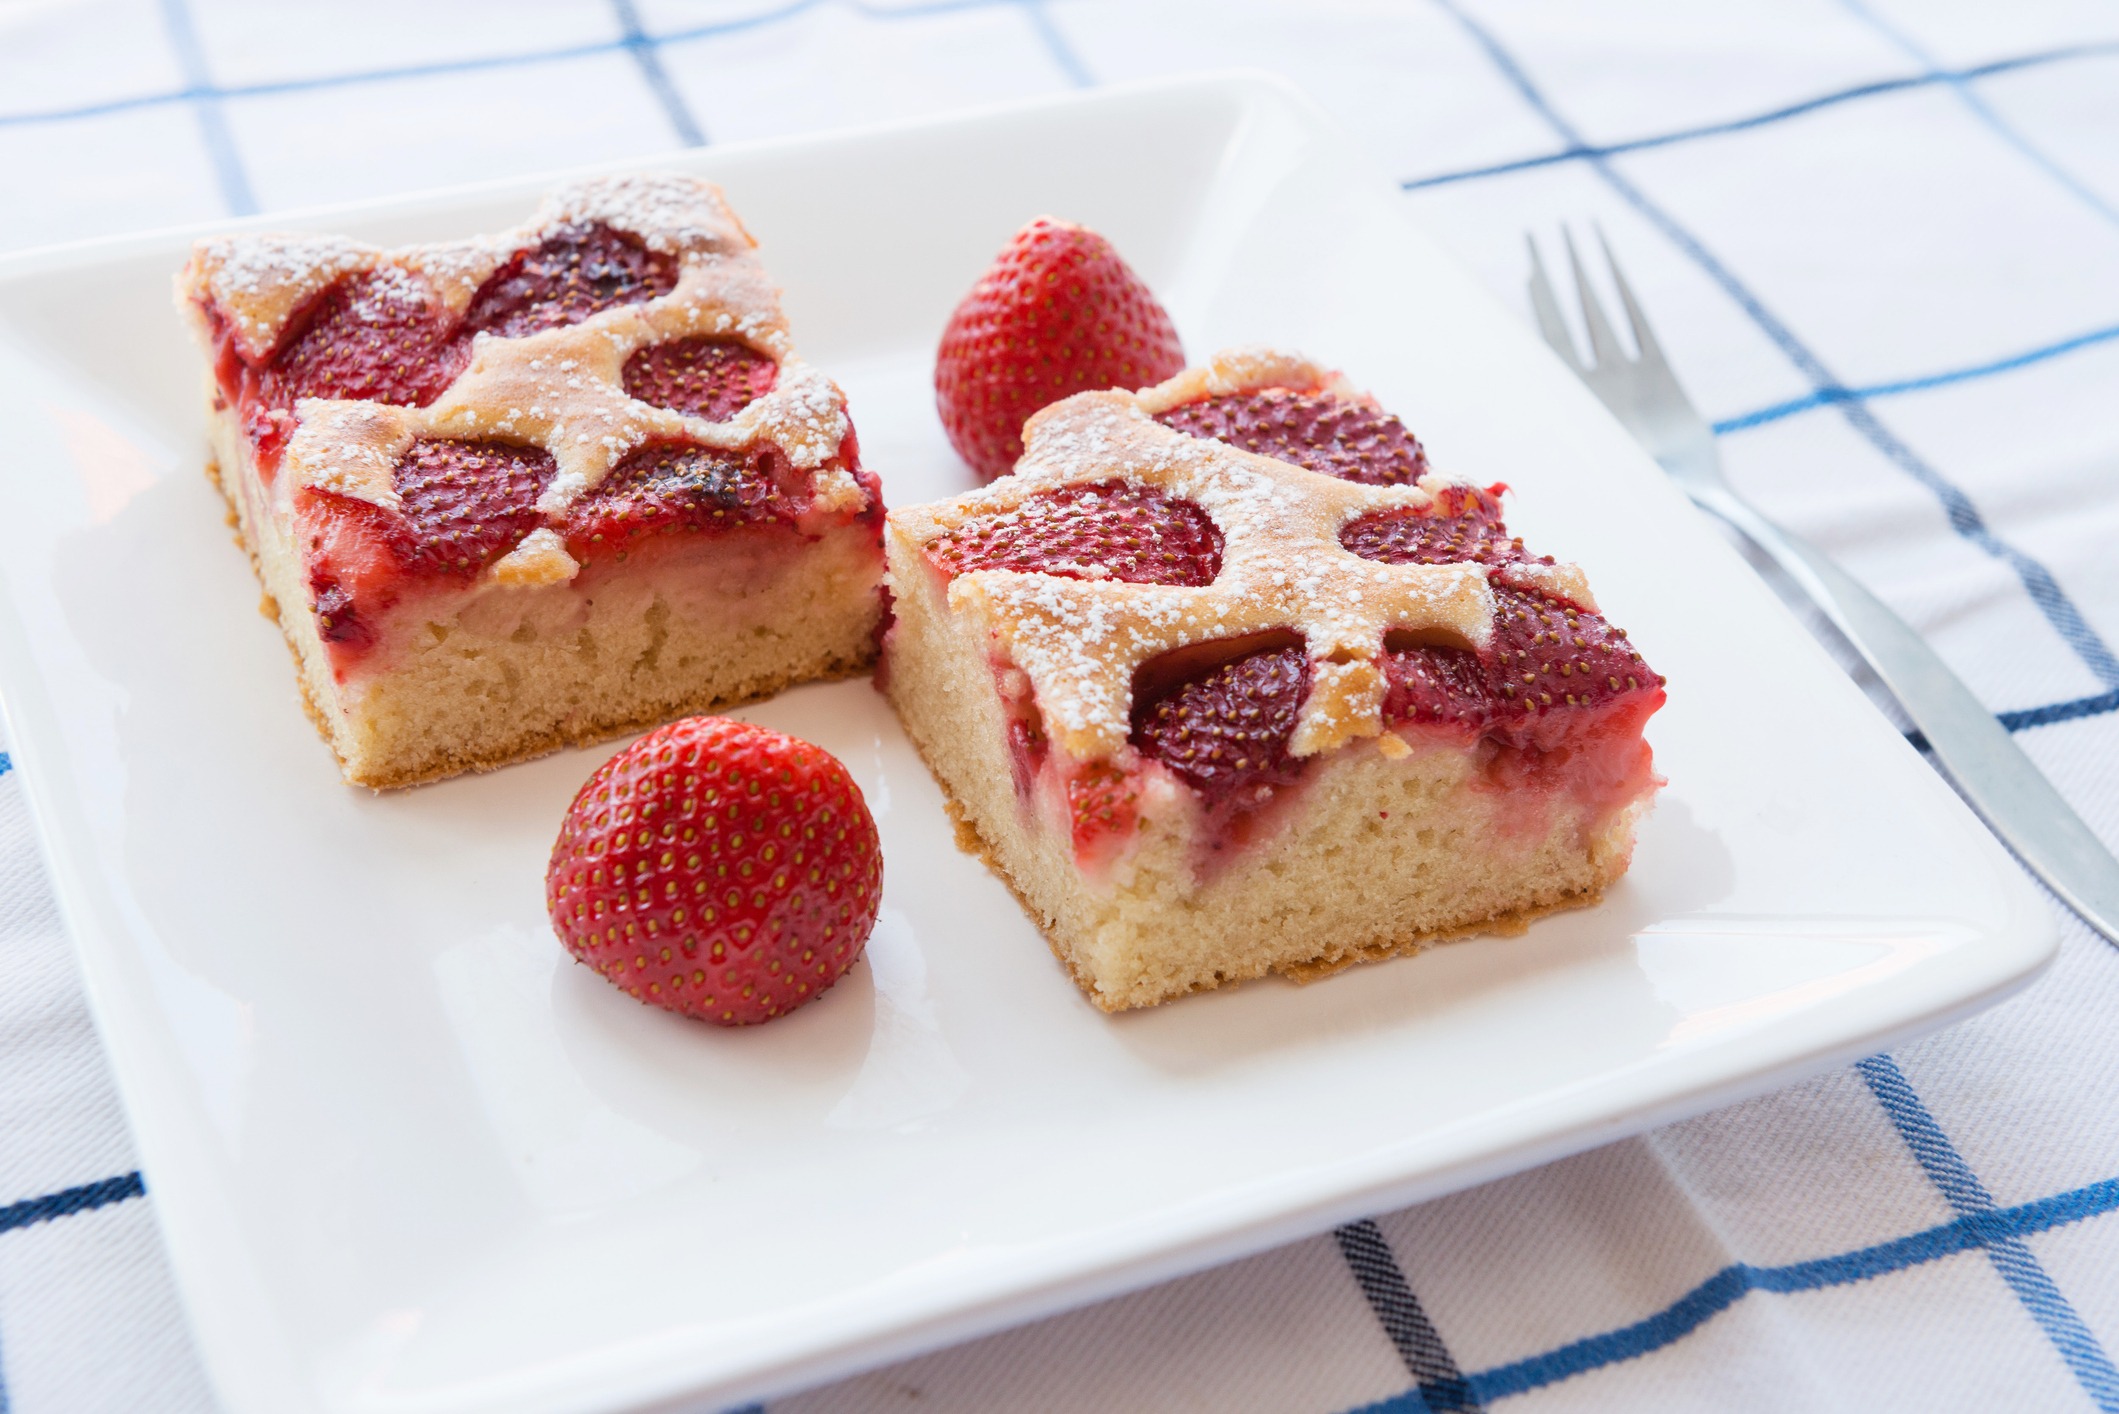
Calling all strawberry lovers…this cake deserves a spot in your baking rotation. It’s easy to make and will give you sweet and simple satisfaction, perfect for any time of day.
Ingredients
½ lb strawberries, about 2 cups, hulled/halved
¾ cup plus 2 Tbsp granulated sugar, divided
1 ¼ cups all-purpose flour
½ cup fine-ground almond flour
¼ tsp baking soda
1 tsp baking powder
½ tsp salt
½ tsp cinnamon
2 eggs
½ tsp vanilla
Zest of ½ orange
1 Tbsp fresh orange juice
¾ cup Greek yogurt, room temperature
½ cup unsalted butter, melted and cooled
Powdered sugar, for dusting
Directions
Preheat oven to 375°. Lightly butter a 9” x 9” square baking pan and line bottom with parchment.
In a small bowl, toss strawberries with 1 Tbsp sugar and set aside.
Stir together flour, salt, cinnamon and orange zest in a medium bowl.
In large bowl, stir ¾ cup sugar and eggs until light and foamy – about 1 minute. Add yogurt, butter, vanilla and orange juice. Whisk until smooth. Add baking soda and powder, whisk until combined.
Gradually add dry ingredients, stirring between additions to combine. Add batter to prepared pan and smooth top.
Arrange strawberry halves, cut side down, in rows and avoiding edges of pan. Sprinkle with remaining sugar.
Bake 40-45 minutes, or until top is puffed and lightly golden-brown and tester in the center comes out clean.
Transfer pan to cooling rack and cool for ½ hour. Dust with powdered sugar and serve warm or at room temperature.
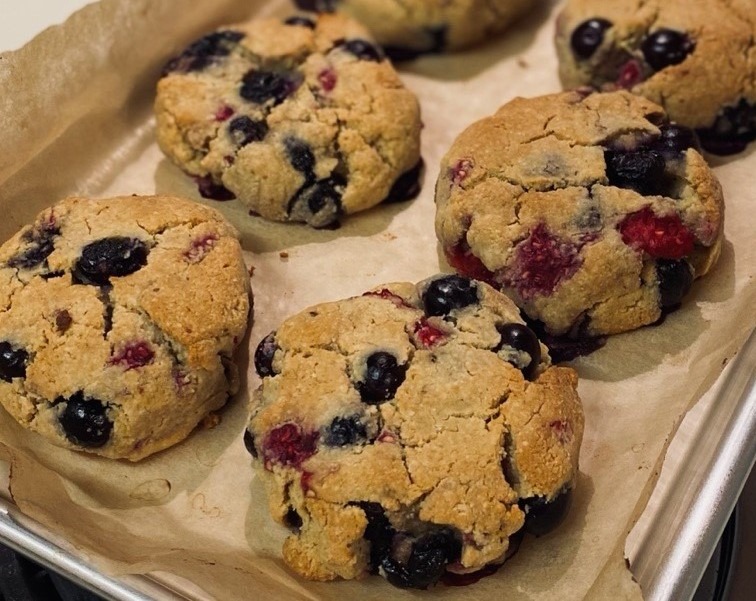
These scones have a nice balance of the moist denseness of almond flour and light, airy dryness of coconut flour. You can get away with one less Tbsp of honey, but the little extra adds nice moisture that only liquid sweetener can bring.
It’s better to use fresh blueberries or ones you’ve fresh-frozen yourself, as the pre-frozen store-bought blueberries can have too much frozen juice in them that can make the recipe too soggy. And, if you do use raspberries, halving them before mixing in will spread their color and flavor throughout the batter more easily.
Remember to zest that lemon before you juice it!
Ingredients
2 ½ cups fine-ground almond flour, like Bob’s Red Mill
½ cup coconut flour
1 tsp baking soda
1/8 tsp salt
Zest and juice from 1 lemon
3 Tbsp honey
2 eggs
¾ cup blueberries, fresh or frozen-fresh (if you froze them yourself, not bought frozen)
Optional: 12-14 raspberries, halved
Directions
Preheat oven to 325°. Line a baking sheet with parchment paper.
In a medium bowl, mix together dry ingredients and lemon zest.
In a small bowl, mix together eggs, honey and lemon juice.
Make a well in the dry ingredients and pour in the wet. Mix ingredients together with a spatula. Fold in berries until fully incorporated.
Divide into six equal portions and one-by-one pat into burger-shaped discs about an inch thick.
Bake 15 minutes and then rotate tray front-to-back. Bake another 15 minutes or so until turning golden brown.
Remove from oven, wait a few minutes and then gently transfer to cooling rack.
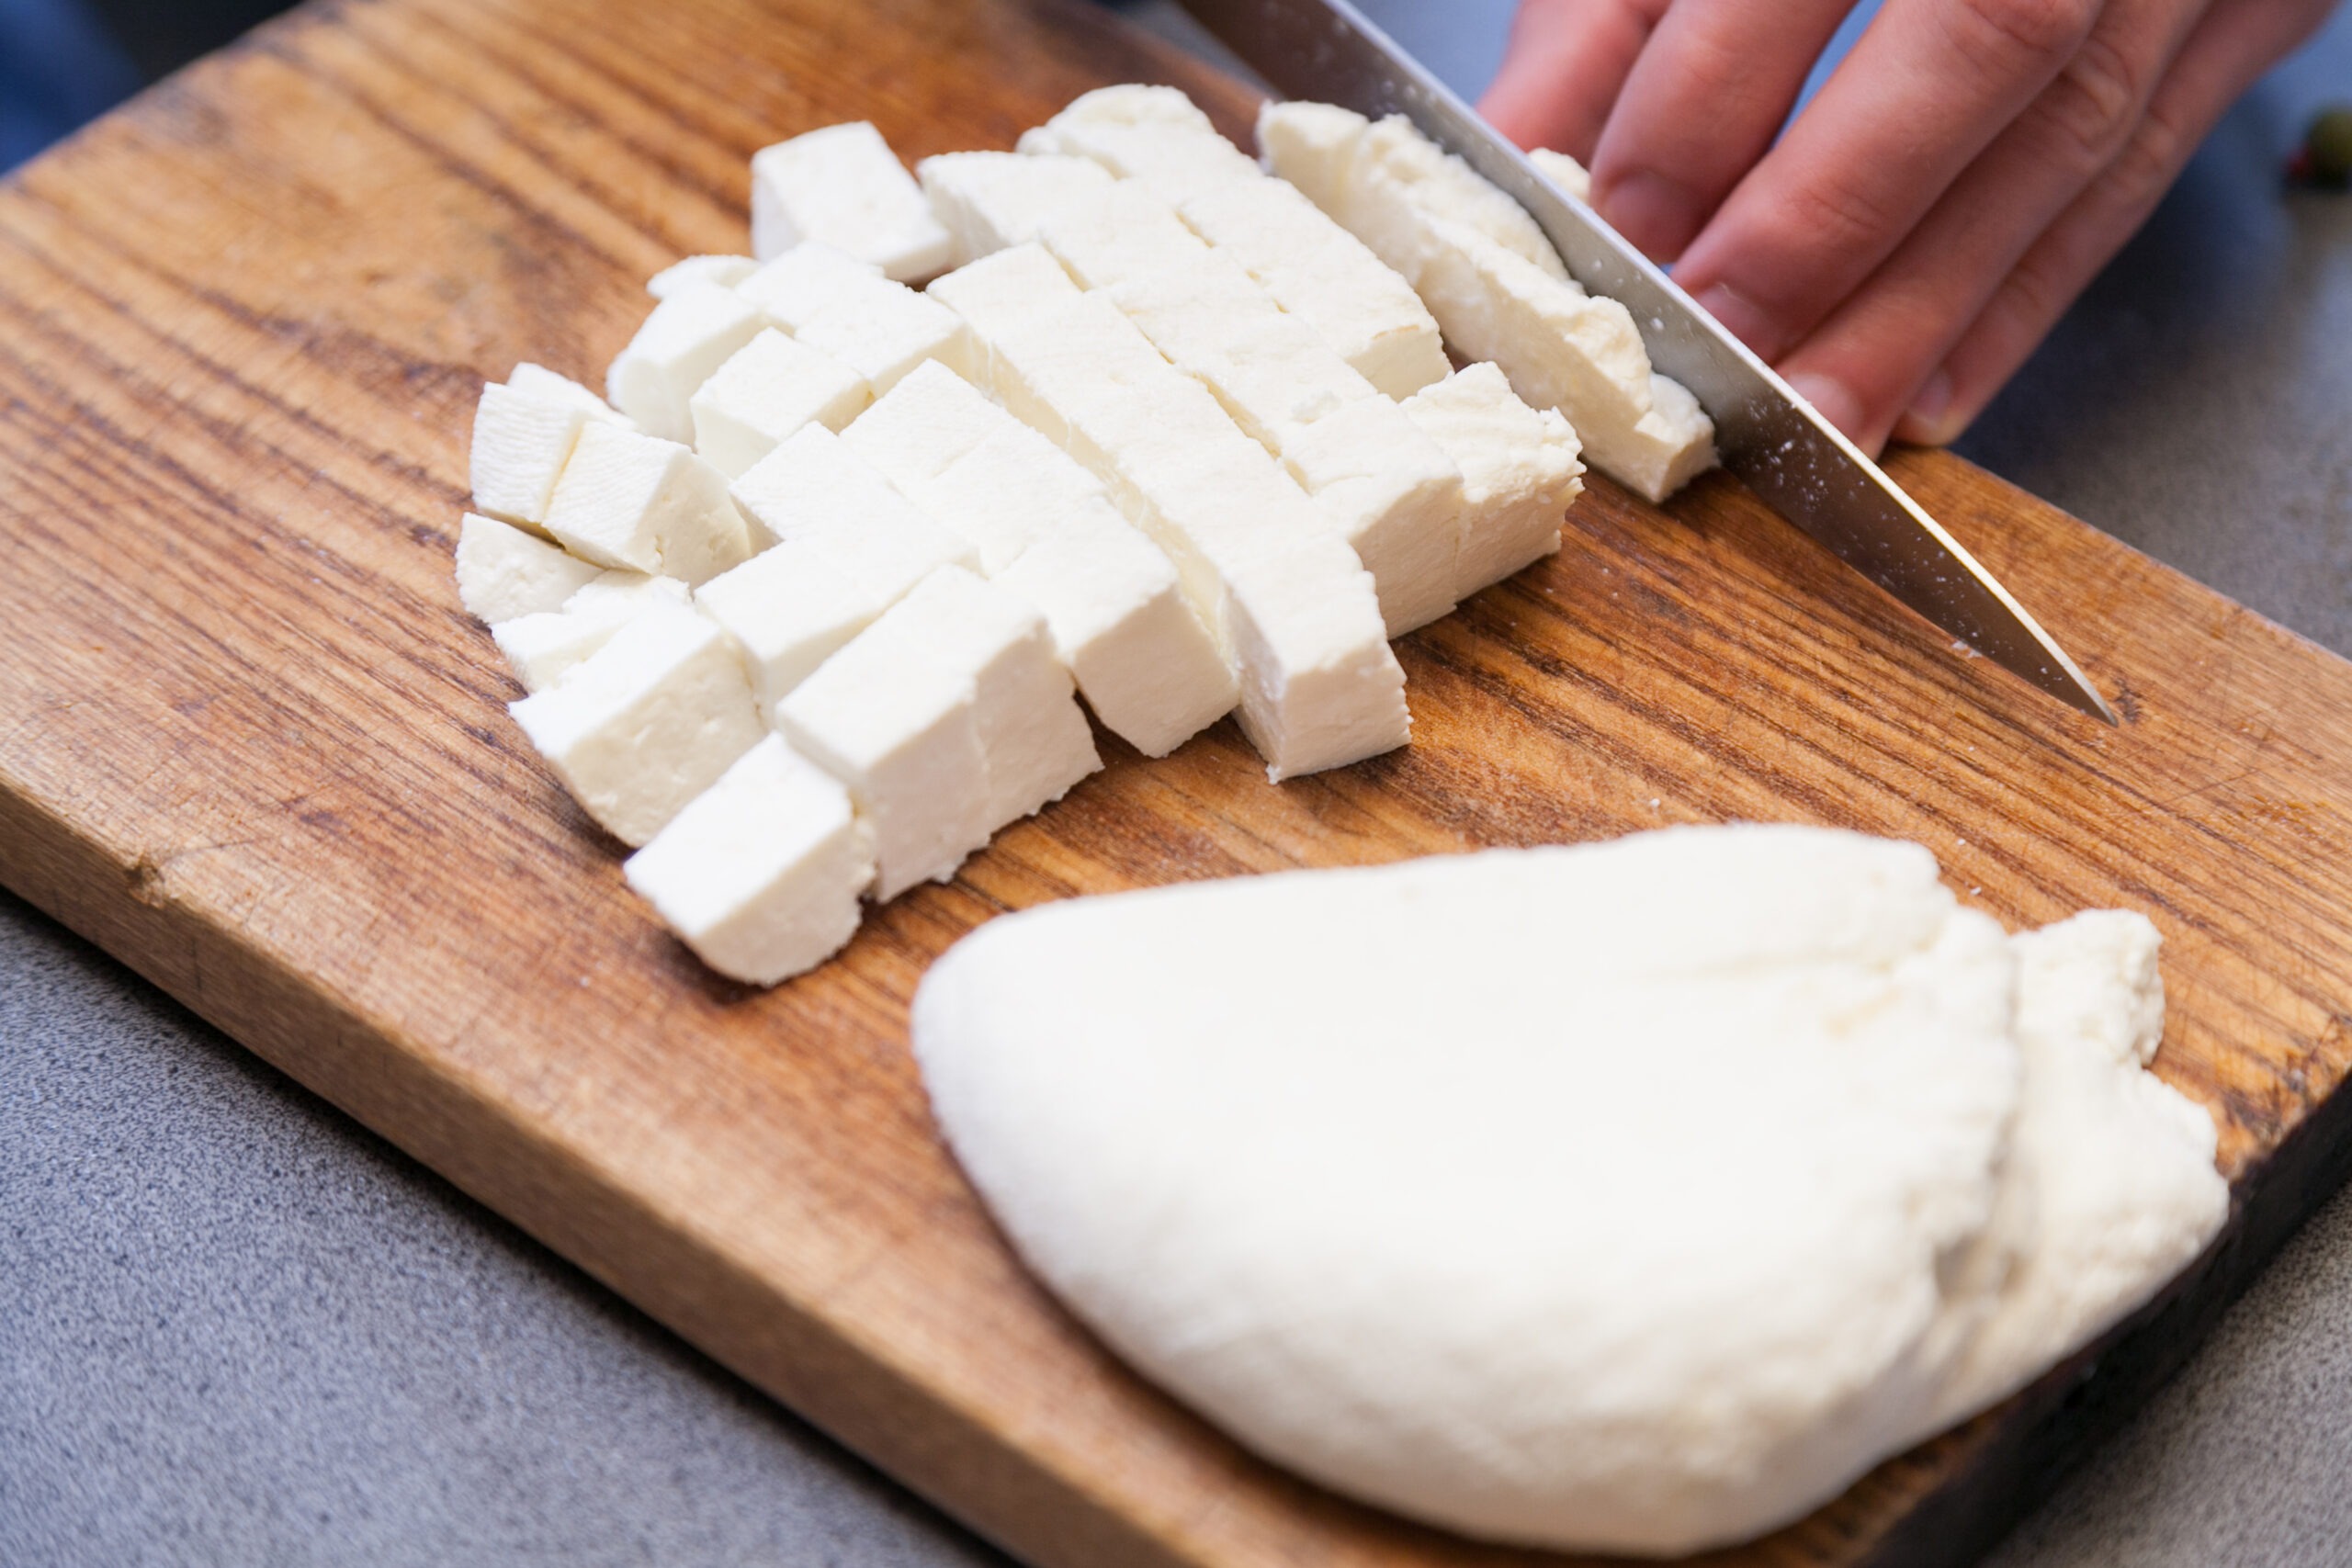
How cool is it to make your own cheese? It’s worth the extra effort and you might just feel like a “mad scientist” watching the curds and whey separate. Use the resulting whey in any baked goods recipes calling for water or milk. This recipe makes about 1/2 pound of paneer.
Enjoy it sliced on salads, toast, or in a traditional Indian recipe like Saag Paneer. Find the recipe here.
Ingredients
5 cups whole milk, NOT ultra high-temp processed
3-5 tsp lemon juice or 5-7 Tbsp buttermilk
Cheesecloth or nut milk bag
Directions
Rinse a large pot with water and make sure it’s completely clean. Add milk to the pot and heat over medium-low flame. Stir occasionally so a skin doesn’t form on the top of the milk and the bottom doesn’t burn.
Place a strainer or colander over another pot, or a bowl. Line strainer with double-layer of cheesecloth or a nut milk bag turned inside out so seams are outside.
When milk starts boiling, add the lower quantity of lemon juice or buttermilk. Begin to stir. The milk will start to curdle; keep stirring so it doesn’t stick to the base of the pot. You may see the milk has curdled part-way, but no watery whey is visible. Add 1-2 tsp more lemon juice, or 1-2 Tbsp buttermilk, and stir again. Then you should see the greenish colored whey in the milk.
After you see the milk has curdled completely and you see the watery, greenish whey, remove from heat and immediately pour entire mixture into the cheesecloth-lined strainer/colander. Gather the edges of the cheesecloth carefully, as the milk mixture is very hot. Run some water over the gathered bundle to rinse. Squeeze very gently to remove excess moisture.
Put the cheesecloth bundle onto one plate and under another, weighing the top plate with a heavy object (about a pound). Let sit for 30-40 minutes. Or, hang the bundle from your kitchen faucet for one hour so it can drain into the sink. Let sit in refrigerator about 20 minutes, and can then be used immediately or refrigerated 2-3 days.