In honor of BriarPatch’s 50th anniversary celebration this week, we pulled this recipe from an old issue of our quarterly magazine, The Vine. These buckwheat crepes with asparagus and snap peas are a simple nod to seasonal eating, best enjoyed when spring produce is at its peak.
Beat all ingredients (minus filling) until perfectly smooth. Grease a nonstick or iron skillet. When it’s hot, pour in a large serving spoon of batter, tipping the pan around so that the bottom is evenly covered for a thin pancake.
When the small bubbles turn to holes, flip the crepe and cook for about 30 seconds. Stacked on top of each other, these will stay warm in the oven. While crepes cook, steam asparagus. Destring snap peas and steam if desired (raw is great for crunch).
Fold or roll into the crepes 2 or 3 steamed asparagus spears, 3-4 snap peas and optional toppings like cheese, sauce such as béchamel, bacon, prosciutto, fried egg, fresh herbs, etc.
A Ramble Through the Bramble Some call them weeds, others a thorny nuisance (to arms, legs, and pride), but whatever the reputation, wild blackberries are undeniably delicious. Packed with antioxidants, vitamins and fiber, these juicy morsels are as nutritious as they are tasty. And if you know where to look and have a good recipe at the ready, we promise: the juice is absolutely worth the squeeze.
Surprisingly, blackberries aren’t technically berries. Each “berry” is actually an aggregate of tiny fruits called drupelets. Their season typically runs from June through September. California is home to eleven blackberry species, and both Nevada and Placer counties are teeming with brambles just waiting to be explored. Jump to Recipe.
Foraging Pro Tips First things first: be aware of your surroundings. Much of the area may be National Forest, but you can easily cross into private land without realizing it. And even on public lands, like National Parks, specific foraging rules apply – know them before you go.
Dress wisely. Long pants and closed-toe shoes are a must (unless you’re aiming for that scratched-up look). Durable fabrics like denim offer added protection. For serious pickers, a heavy-duty glove, like a welder’s glove, can help you part the brambles for easier picking. Whatever you wear, expect blackberry juice stains that may never come out. And remember to only pick the berries that are deep purple-black. If they’re red, they’re not ripe.
Making the Most of Your Bounty If you’re brave (and smart) enough to venture out and gather these juicy gems, your taste buds will thank you. But don’t wait too long – blackberries are highly perishable and should be eaten or frozen within a couple of days. That goes for thawed berries, too: use them quickly for the best flavor and texture.
So, got those berries ready? Good, let’s get to using ‘em!
Summer Fruit Mini Buckles
A buckle is a cake that is so stuffed with fruit that it “buckles” under its weight. This recipe is the cupcake version of that – so no one can complain someone else got the bigger piece! Enjoying with ice cream is optional but encouraged.
Cake Ingredients
5 Tbsp unsalted butter, softened
¾ cups granulated sugar 1 egg
1 ½ tsp vanilla extract
½ tsp kosher salt
1 ⅔ cups all-purpose flour
½ cup whole milk
1 ½ tsp baking powder
1 ½ cups berries
1 cup stone fruit, chopped
12 cupcake liners
Crumb Toppings Ingredients
½ cup light brown sugar
¼ cup all-purpose flour
¼ tsp kosher salt
⅛ tsp each cinnamon, nutmeg and cloves
2 Tbsp cold unsalted butter, cut into ¼” cubes
Directions
Make crumbs first. Preheat oven to 325°
Mix dries together in a bowl, then gently cut in butter until mixture is sandy. Set aside.
Make the cake
Beat butter and sugar until fluffy. Beat in egg and vanilla. Beat in flour, baking powder and salt alternately with milk. Fold in fruit.
Scoop into cupcake liners. Sprinkle crumbs on top. Bake for 20-25 minutes until tester comes out clean.
Enjoy with a spoonful of Cocowhip or vanilla ice cream for dessert or toss them in the toaster oven to enjoy with your morning coffee.
The tarte à la tomate reflects the French culinary philosophy of highlighting seasonal, high-quality ingredients without delving into the overcomplicated and overproduction. Who wants to spend hours in the kitchen on a glorious summer day? What makes this “tomato pie” distinct from its bread-plus-tomato-plus-cheese brethren is the hefty addition of Dijon mustard, which adds an unexpected but “oh-wow-that-really-is-fantastic!” tangy depth of flavor.
The wonderful thing about this recipe is its versatility. Add your favorite cheeses, or some caramelized onions, anchovies, olives, or capers. Perhaps top it with some fresh arugula right before serving.
Use whatever type of tomatoes you’d like for this recipe. The only thing to keep in mind is that the tastier the tomato, the more delicious the end result will be. Feel free to ad lib as you see fit with cheese or additional accoutrements.
Learn more about this tasty dish in our The Union article.
Pro tip: After slicing your tomatoes, lay them on paper towels and sprinkle lightly with salt, laying another paper towel over them, while you heat your oven and continue to prep your ingredients. This will remove excess water, which will keep your tart from getting soggy and also concentrate the tomato flavor.
Roll out the puff pastry to about ¼” thick. Move to parchment lined sheet pan. Prick all over with fork, leaving a 1” border. Refrigerate for at least 30 minutes.
Preheat oven to 400°.
Spread Dijon on puff pastry, leaving 1” border and sprinkle cheese over. Lay tomato slices on top. Bake for 30-40 minutes until puff pastry is golden brown and firm. Season with salt and pepper to taste. Sprinkle with fresh herbs.
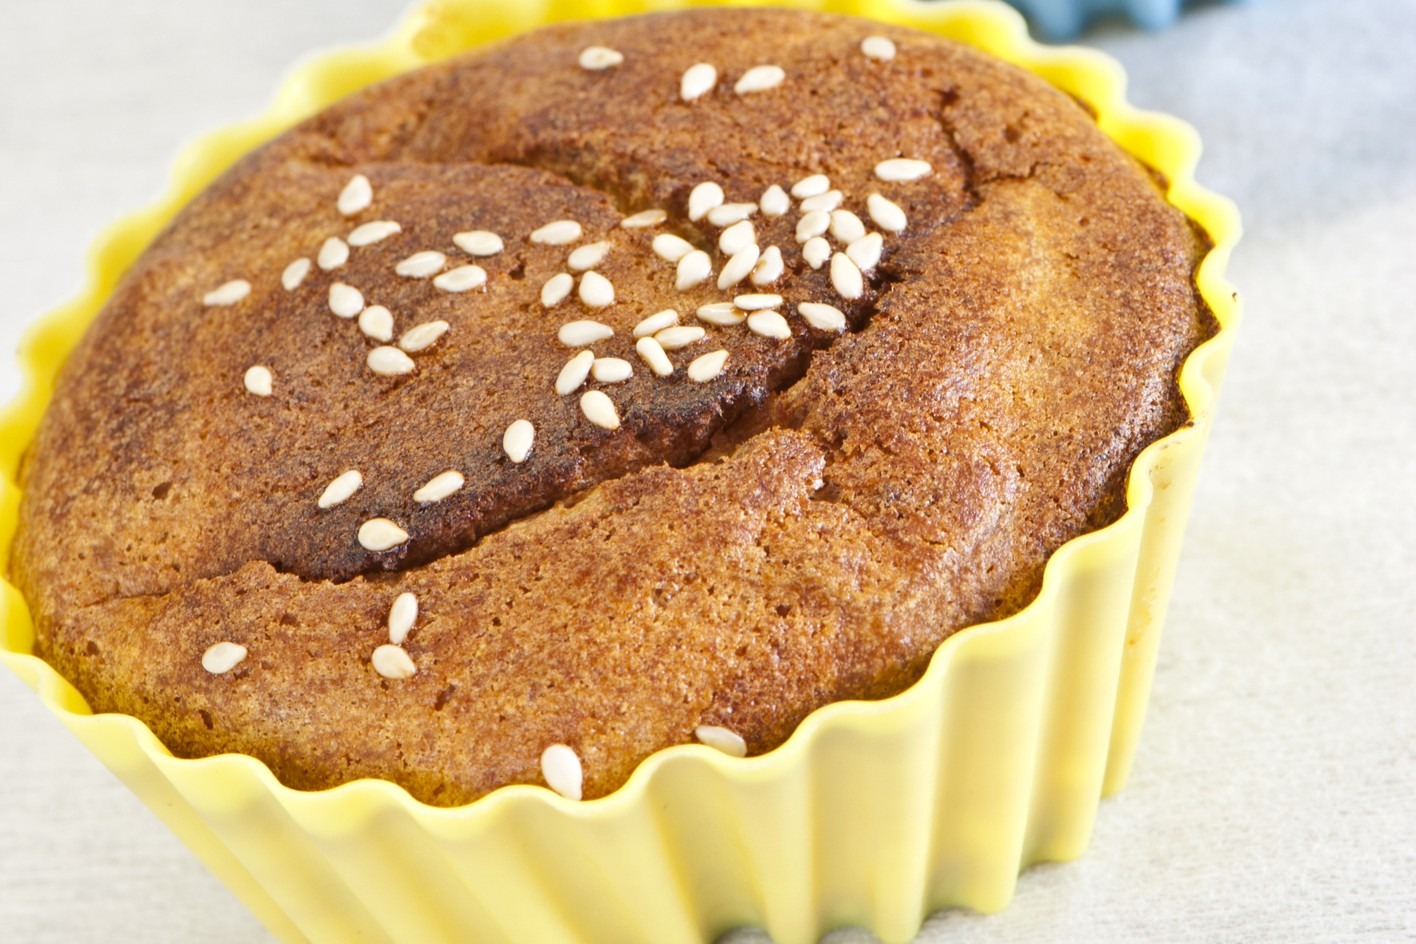
Mochi muffins are made with sweet rice flour, which makes them nice and chewy inside and out. The dark brown sugar and molasses gives their sweetness a satisfying depth.
They’ll be a little gooey and moist inside even when they’re done – that’s because of the rice flour – and the outside’ll be golden brown and ready for you to take a bite!
Ingredients
¼ cup melted unsalted butter or coconut oil
2 cups mochiko sweet rice flour
1 cup dark brown sugar
2 tsp baking powder
½ tsp salt
1 can (about 13.5 oz) full fat coconut milk
2 eggs
½ cup finely diced apple or Asian pear (peel fruit before dicing)
1 ½ tsp vanilla
1 tsp molasses
3 Tbsp sesame seeds
Directions
Preheat oven to 350° and lightly grease a 12-cup muffin tin with butter or coconut oil.
In a medium-sized bowl, combine sweet rice flour, dark brown sugar, baking powder and salt.
In a large bowl, whisk together the melted butter or coconut oil, coconut milk, eggs, vanilla and molasses. Add dry mixture to the wet, about ½ cup at a time, stirring gently after each addition to make sure there are no lumps. Once you’ve added all the dry mixture to the wet and everything is well-incorporated, fold in the finely diced fruit.
Fill each muffin cup equally with batter (will be completely full or close to it). Sprinkle sesame seeds on each muffin.
Bake for about 50 – 60 minutes or until muffin tops are golden brown. Let cool about 10 minutes before eating.
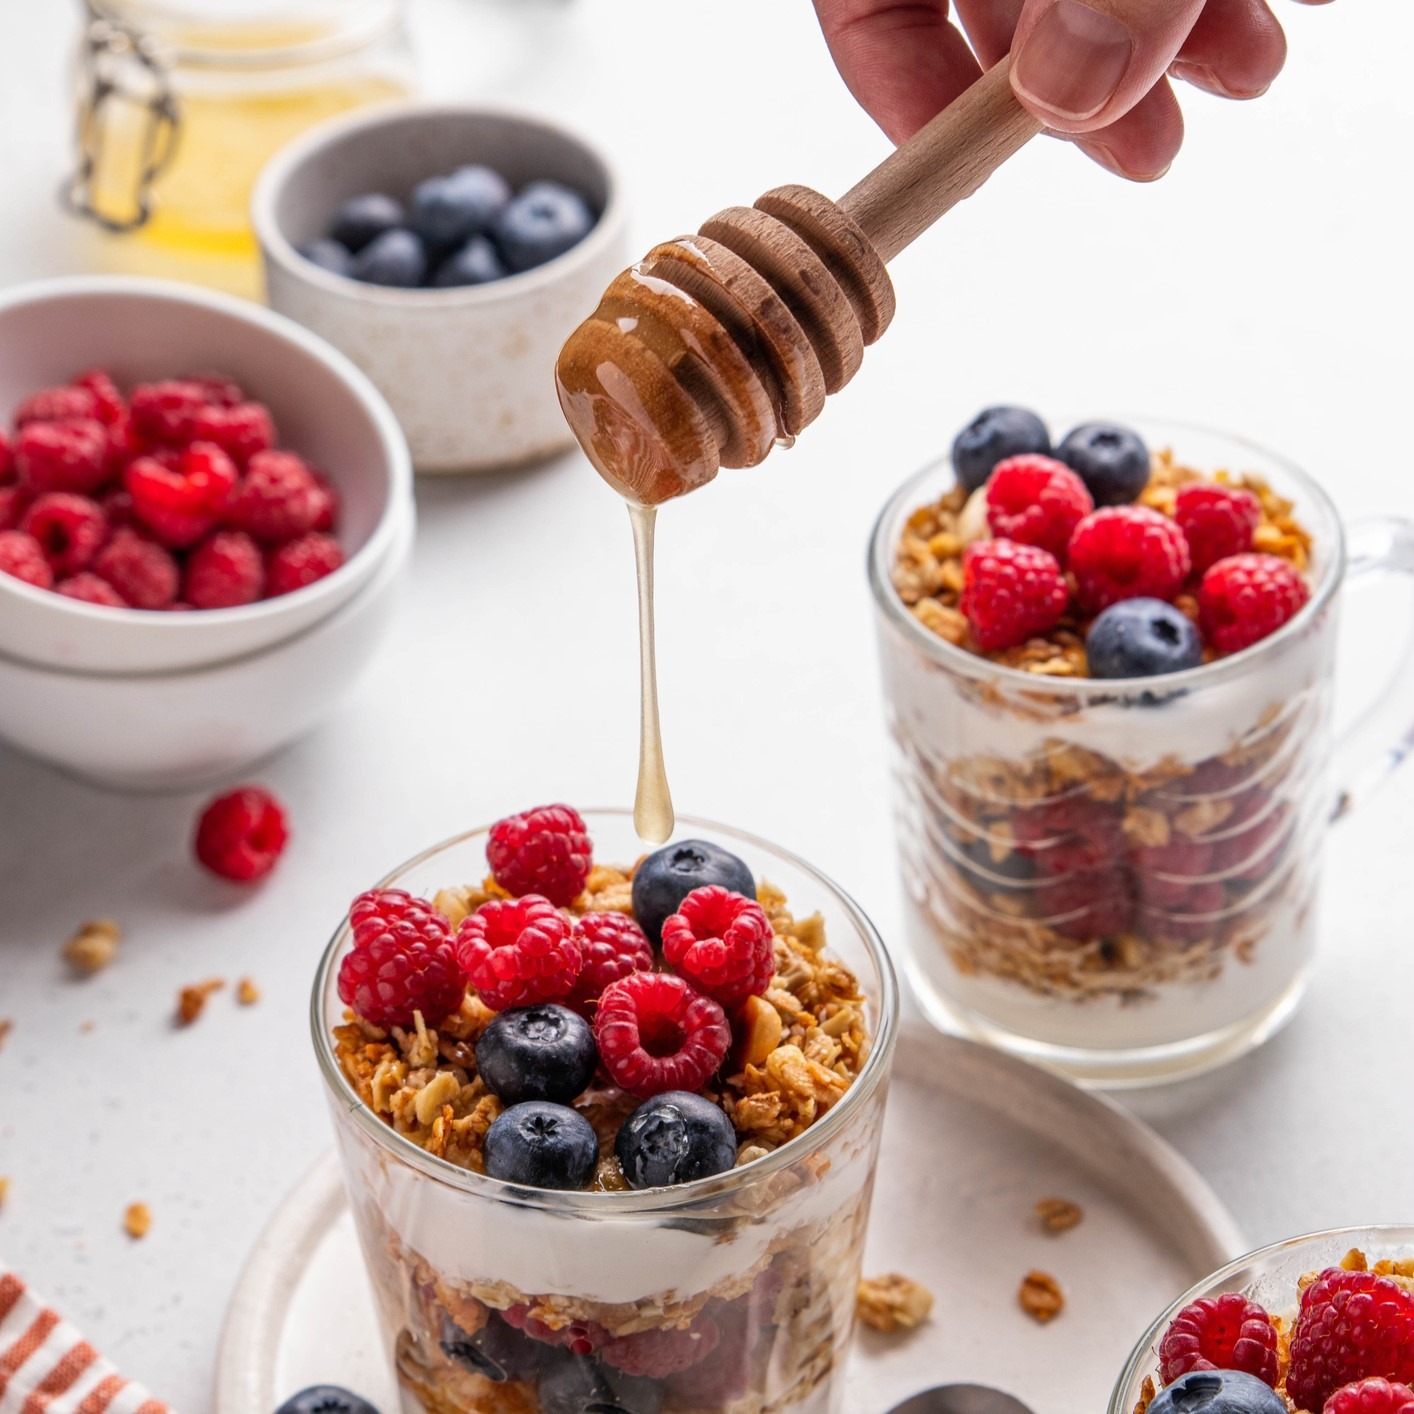
Yogurt parfaits are fun, versatile, easy to make and look beautiful.
In this recipe we’re highlighting local products – Hola Granola, Wingfield Honey and Tenderlyrooted sprouted walnuts! It’s a great way to savor the delicious creations from our local producers.
Ingredients
2 cups plain or vanilla Greek yogurt
2 cups Hola Granola
2 cups fresh fruit – berries, or other fruit – sliced into bite-sized pieces
¼ cup plus 2 Tbsp Wingfield Honey, divided
Juice from ½ lemon
Optional: ½ – 1 cup Tenderlyrooted Toasted Vanilla or Classic sprouted walnuts
Directions
In a small bowl, stir together 2 Tbsp honey with lemon juice. Fold in fruit to coat evenly.
Layer ingredients into 12- or 16-oz glasses or jars, in the following order: ¼ cup yogurt, ¼ cup granola, ¼ cup fruit. Repeat layers a second time.
Just before serving, scatter walnuts on top of each one, followed by a drizzle of honey (about 1 Tbsp each).
Easy to make, this heartwarming and cozy dish is as good for breakfast as it is for dessert!
When life gives you apples, make Granola Apple Crisp! Dessert’s done in a snap when you’ve got Field Day’s high-quality pantry staples ready to go. This easy, heartwarming recipe combines a handful of simple ingredients into a yummy treat. With a few Field Day staples—like their perfectly spiced cinnamon and rich, golden brown sugar—you’ll find yourself reaching for that second helping.
Think back to the days of warm, homemade treats straight from the oven, when the scent of apples and cinnamon filled the kitchen. This Granola Apple Crisp brings that same nostalgic warmth, but with a modern twist—Field Day granola! It’s crunchy, lightly sweet, and just what this crisp needs to give it that satisfying bite.
Best of all, with Field Day quality at everyday low prices, you don’t have to break the bank to stock up on all the basics. So go ahead, bake up a batch, and enjoy the simple pleasure of comfort food done right. Field Day’s got you covered when it comes to pantry staples in this recipe!
Ingredients
4 apples, chopped
** 2 Tbsp almond flour
** 2 tsp cinnamon, divided
** ¾ tsp nutmeg, divided
** 2 Tbsp raspberry or strawberry spread
Squeeze of lemon juice
** ¼ tsp salt
** 2 cups granola
** ¼ cup brown sugar
** ¼ cup all-purpose flour
** ¼ cup coconut oil, melted – plus a little more to grease baking dish
Directions
Preheat oven to 350°. Grease a 9” x 13” baking dish.
In a small bowl, stir a little water into the fruit spread to thin out. Put apples in a large bowl and fold in preserves and lemon juice to evenly coat. Sprinkle then stir in almond flour, ¼ tsp nutmeg, salt and 1 tsp cinnamon. Spread in an even layer in baking dish.
To a medium bowl, add granola, brown sugar, flour, 1 tsp cinnamon and ½ tsp nutmeg. Stir well to combine. Pour in melted coconut oil and stir again until thoroughly mixed.
Top apples with granola mixture and spread it so it covers them evenly. Bake 30-40 minutes until the topping is browning slightly. Let stand 15-20 minutes to set before serving.
**Note: These ingredients are available from Field Day, at BriarPatch.